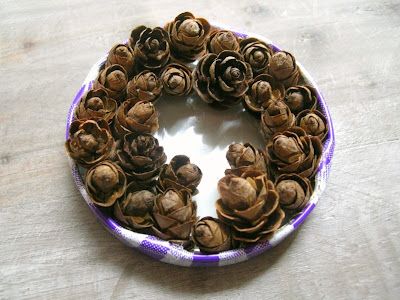
SUPPLIES.
small or mini pine cones
jar lid (I used a Smuckers jam lid)
hot glue gun
metallic spray paint
Go out of doors, and spray paint your card holder. Spray the bottom first, allow it to dry according to the directions on the can, and then spray the top. It's a good idea to apply two coats of paint. I didn't prime mine, but if you want it to be extra durable, or you plan to keep it in storage after the holidays, you may want to prime it first.
Once dry gently work your card between the tops of the pine cones. It's okay if it doesn't fit down very far, it should still hold the card.
I found this fun little guy sitting next to me in the yard while I was painting the card holder. So of course I had to paint him too!
Enjoy!


2 comments:
such a great idea friend! I'm hoping that since there are a ton of trees at our new place that there'll be lots of pine cones for me to 'borrow'! :)
These are lovely! As is the rest of your fab Blog!
Post a Comment