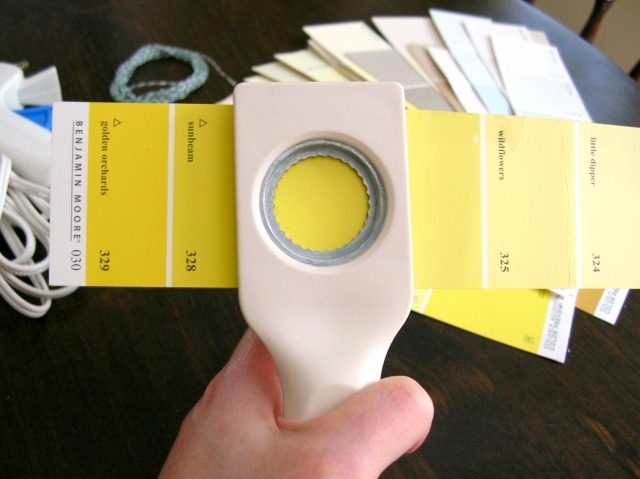
Since we've recently had to pick out a couple of new paint colors for our old walls, there is a plethora of paint chips lying about the house. I don't foresee myself needing these particular chips again, and I didn't want to chuck them in the trash, so I whipped up a fun paint chip garland to hang on my soon-to-be freshly painted walls. I'm hoping to hang it near the homeschooling blackboard I inherited from my parents!
MATERIALS: collection of paint chips
baker's twine
craft punch
hot glue gun
Begin by punching out the paint chips using your craft punch (I used a Martha Stewart 1" scalloped circle punch). Be careful to avoid getting any lettering or numbers on your circle if you can. In order to see what I was doing, I flipped the punch over so that I could see exactly where I was cutting.
Next, double up your baker's twine, and put a knot in each end to keep it even. I found it easier to start in the center of the twine and work my way toward the ends from there. If you start at the end instead, be sure to leave at least two inches between the end knot and the first paint chip circle.
To attach the circles, place a paint chip face side down and drape the twine across the center; dab the hot glue on top of the twine to secure and then work the glue to the edges. You want to be sure the glue is not applied too thickly. Place another chip, face side up, on top (this will make your garland double sided); press firmly to secure, being careful not to burn your fingers with the hot glue.
To finish, continue down the length of twine, leaving at least two inches on each end for hanging. I tried to place my circles so that I didn't have super similar colors right next to each, and so that the progression of color down the chain was pleasing to the eye: unless you want a totally random pattern, be sure to do this for both sides of the garland!
What other great uses have you come across for transforming old paint chips?
Note :: I needed eighty-eight paint chip circles to cover both sides of a four foot section of twine.